
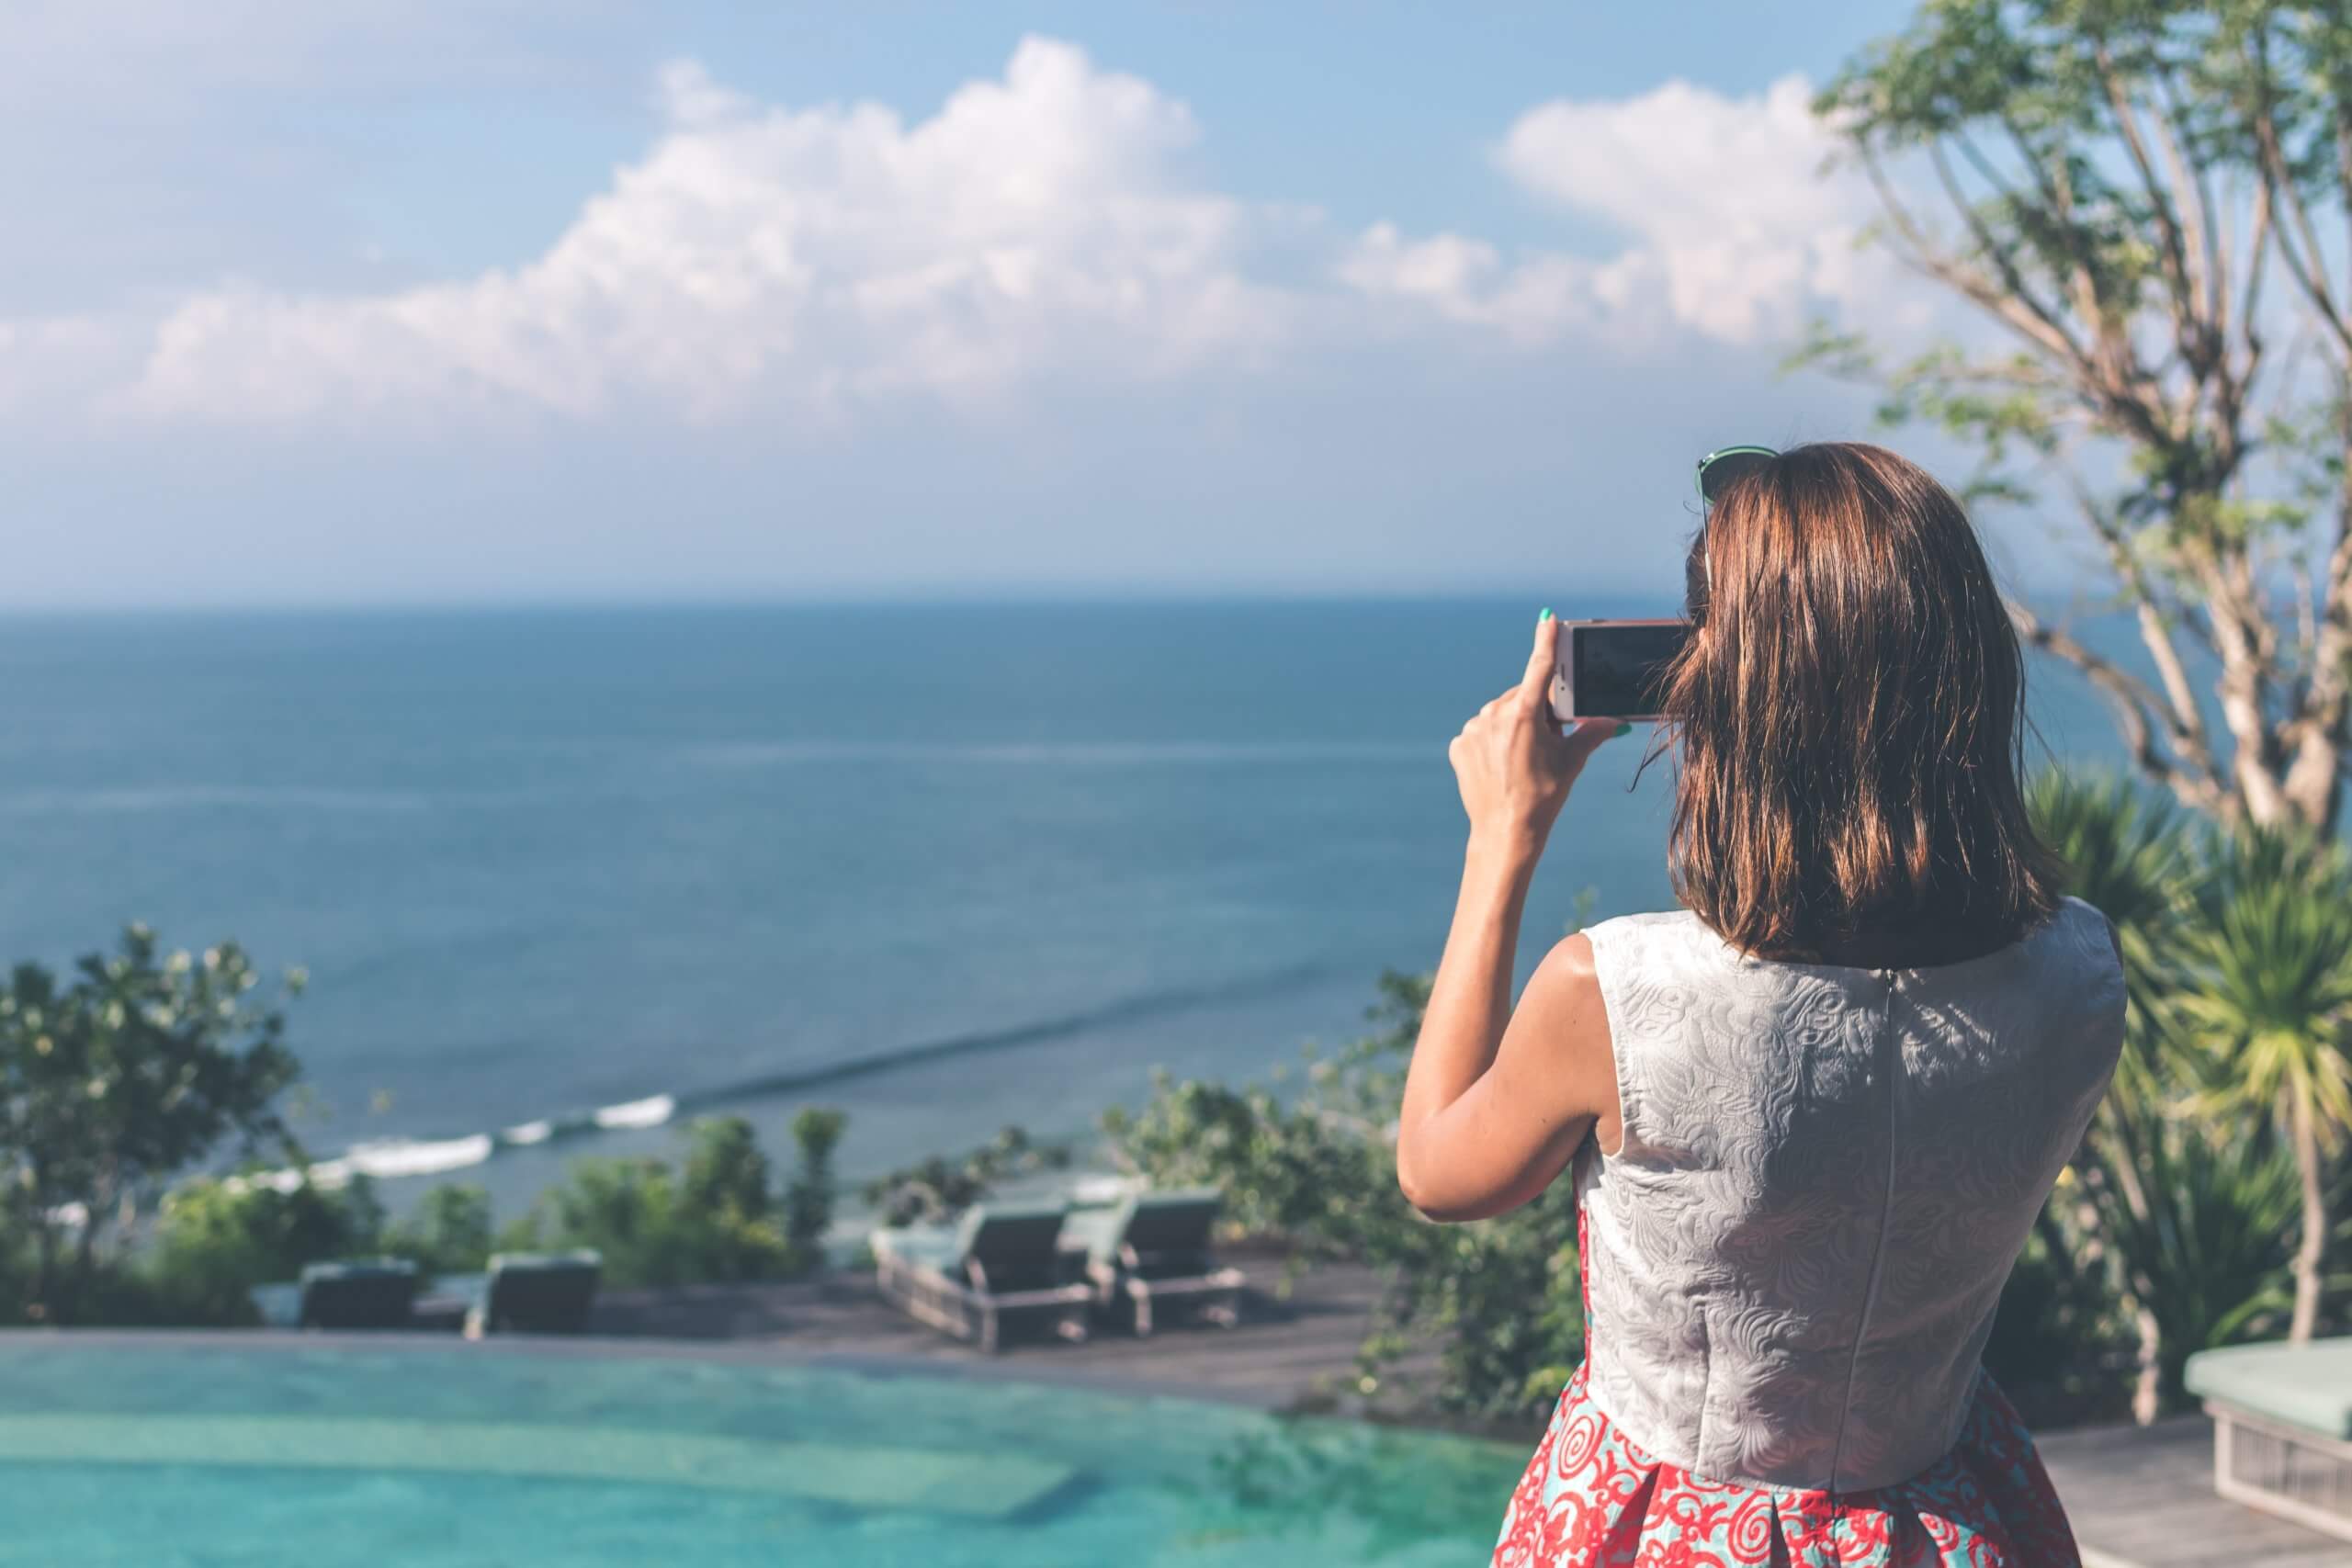
Photo by Artem Beliaikin from Pexels
One of the wonderful things about technology is how it makes life easier. These days, you always have a camera ready to snap a quick picture when you have your mobile phone with you. But, if you’ve ever looked back at your photos and wished they were a little better, you’re in good company. Next time, you can do it differently. Here are 5 iPhone Photography Tips You’ll Find Useful.
Double Tap for Quick Camera Access
How quickly can you open the camera app on your phone? If you have a lock screen enabled, you may lose precious seconds trying to type in your passcode to get to your home screen. And in that tiny bit of time, the scene you wanted to capture in a photo has changed. The light in the sky faded, the bird flew away, the surprised look on the person you are photographing is gone. Time is a key factor in photography.
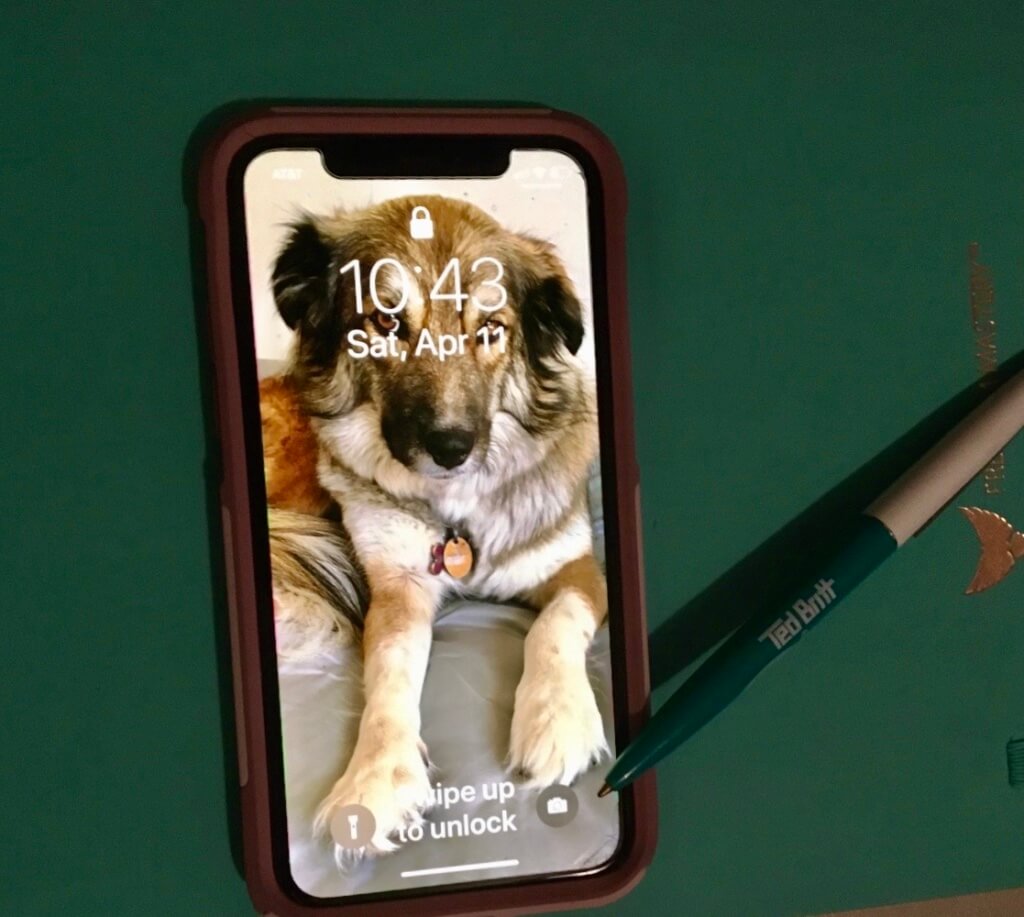
One way to open your camera app quickly is by double tapping the camera icon in the bottom right corner of your screen. It should open up the camera app immediately so you can take a photo or video.
Use the Phone Volume Controls To Take A Picture
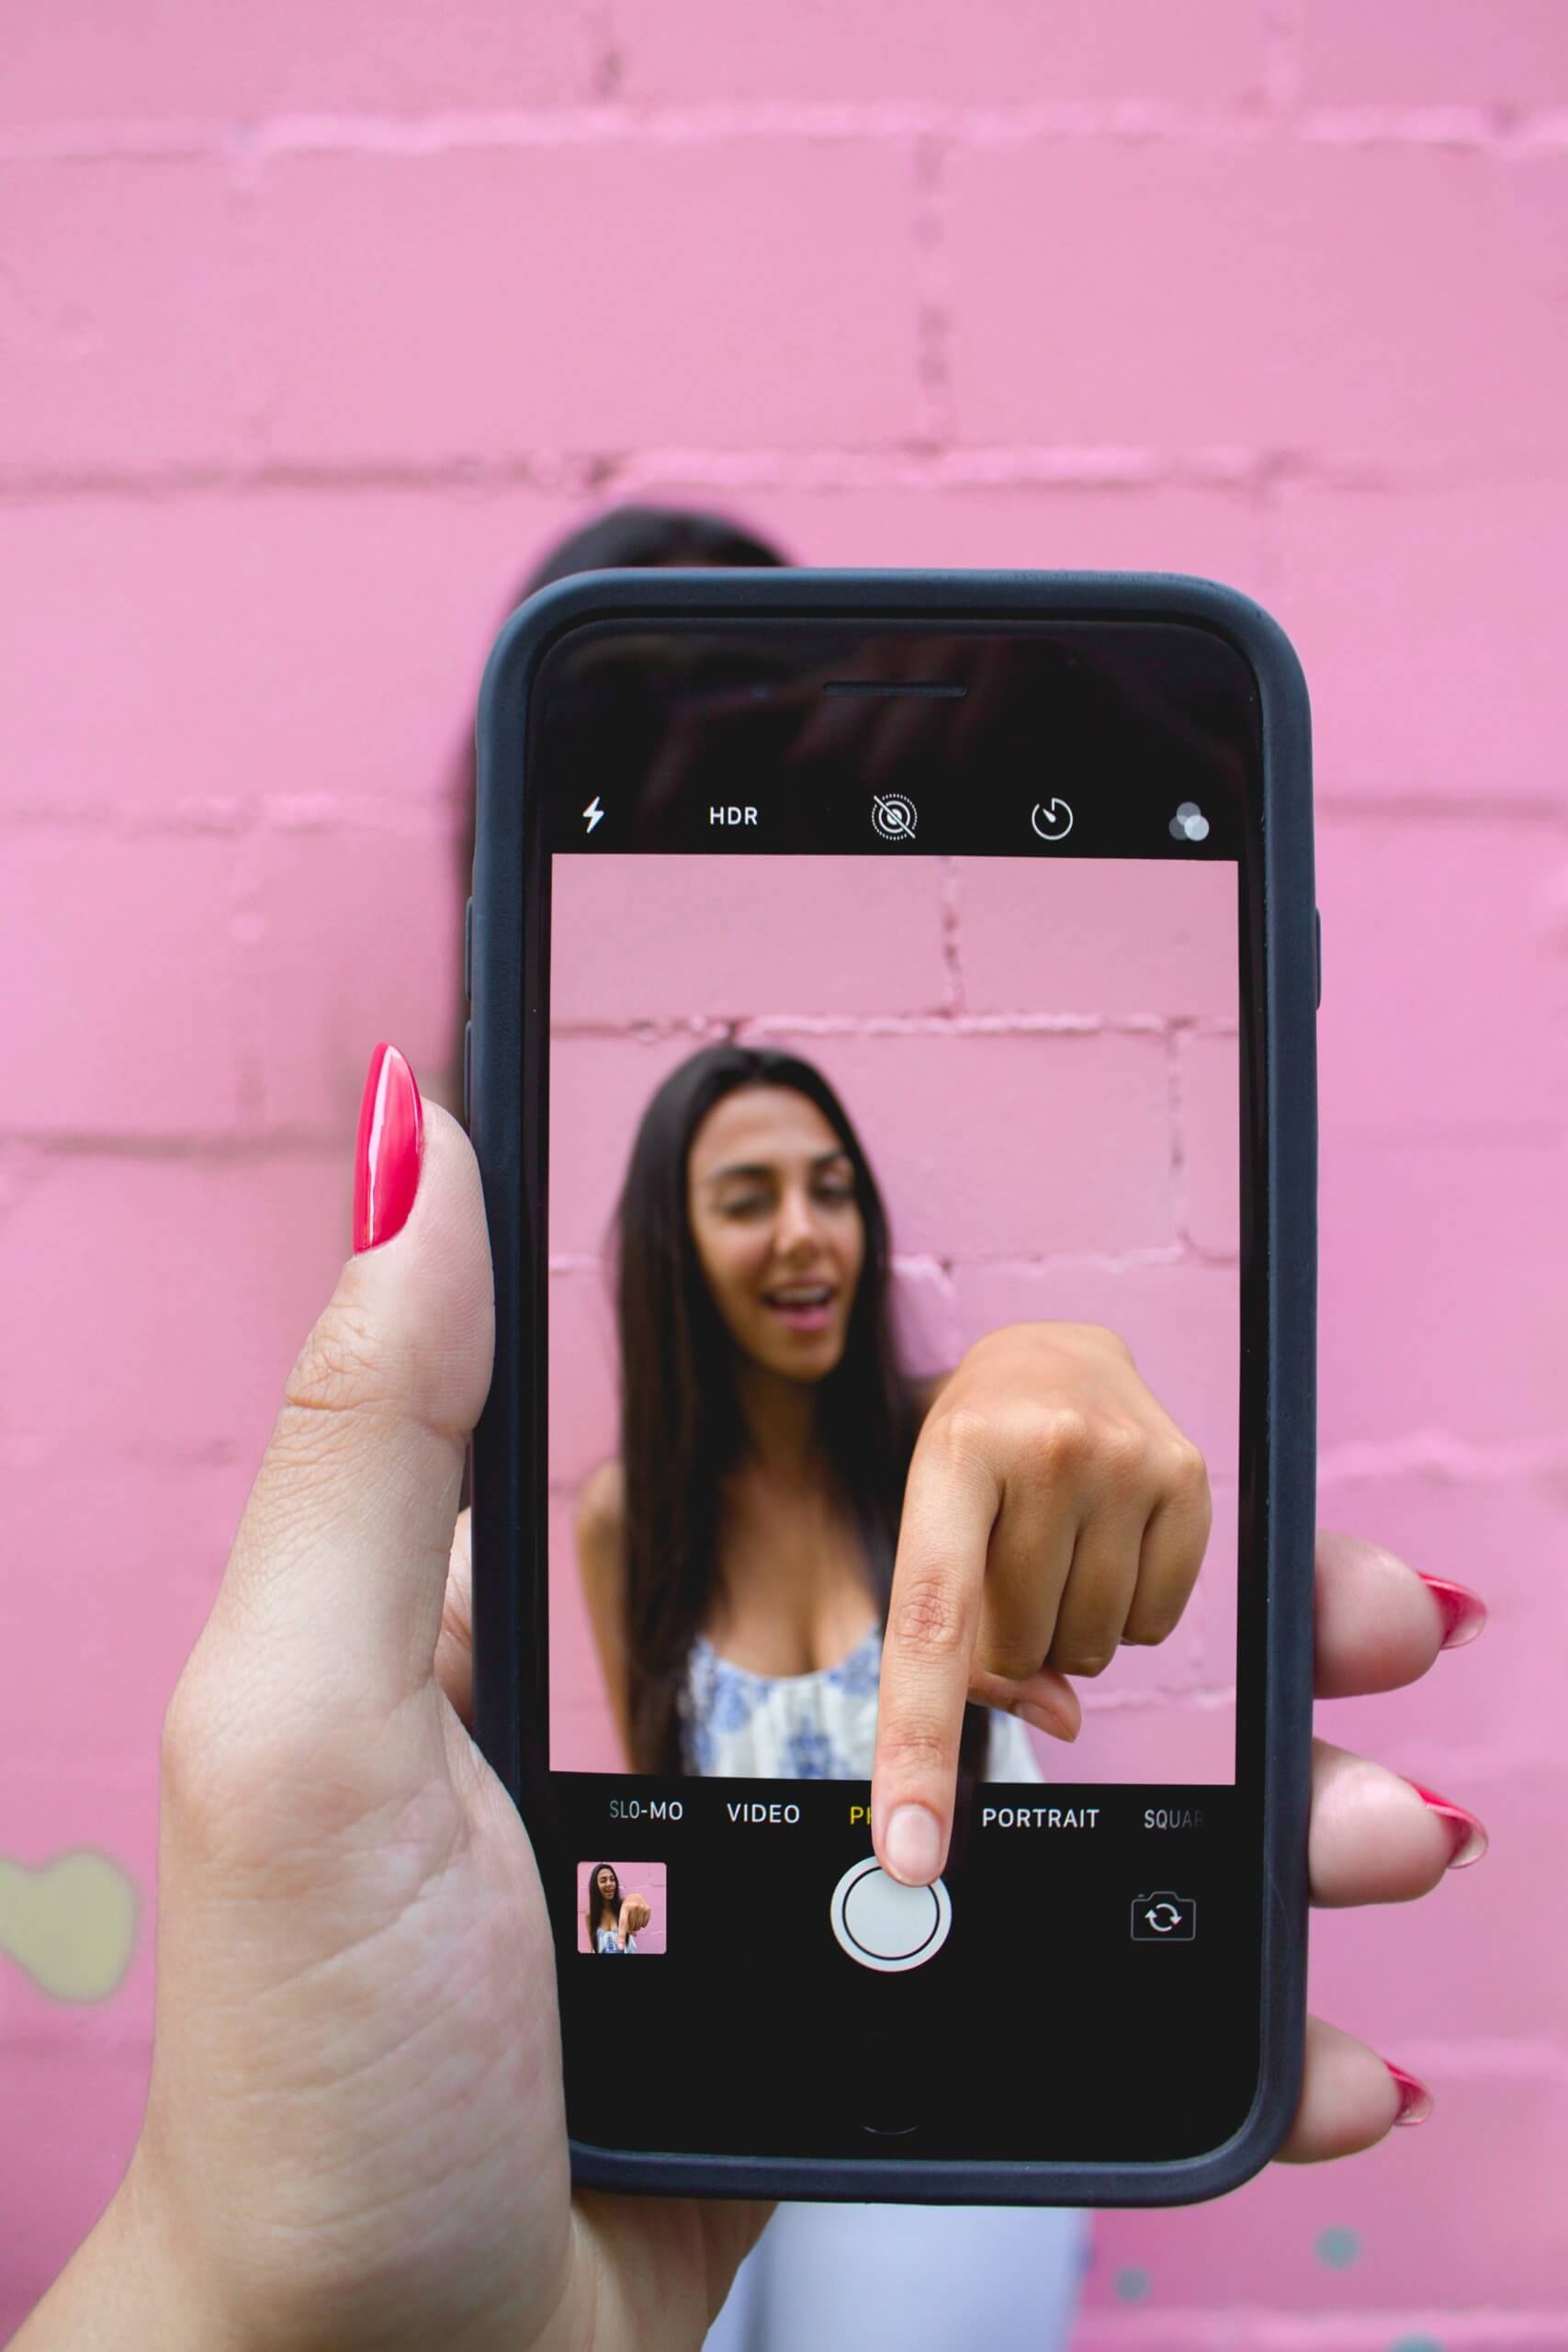
The other day, I noticed a woman trying to take a selfie. She held the phone in one hand, and with the other hand, tried to tap the circle at the bottom to take the picture. It looked awkward and the camera moved when she tapped it. I had been that woman so many times myself, I just had to step in and give her this suggestion.

Photo by Tracy Le Blanc from Pexels
Hold your phone in one hand from behind and use your thumb to press either one of the volume controls on the right hand side to trigger the shutter release. Now you can hold whatever your carrying in your other hand. It’s a simple hack really, but it’s a lot easier to control your photography shoot with only one hand.

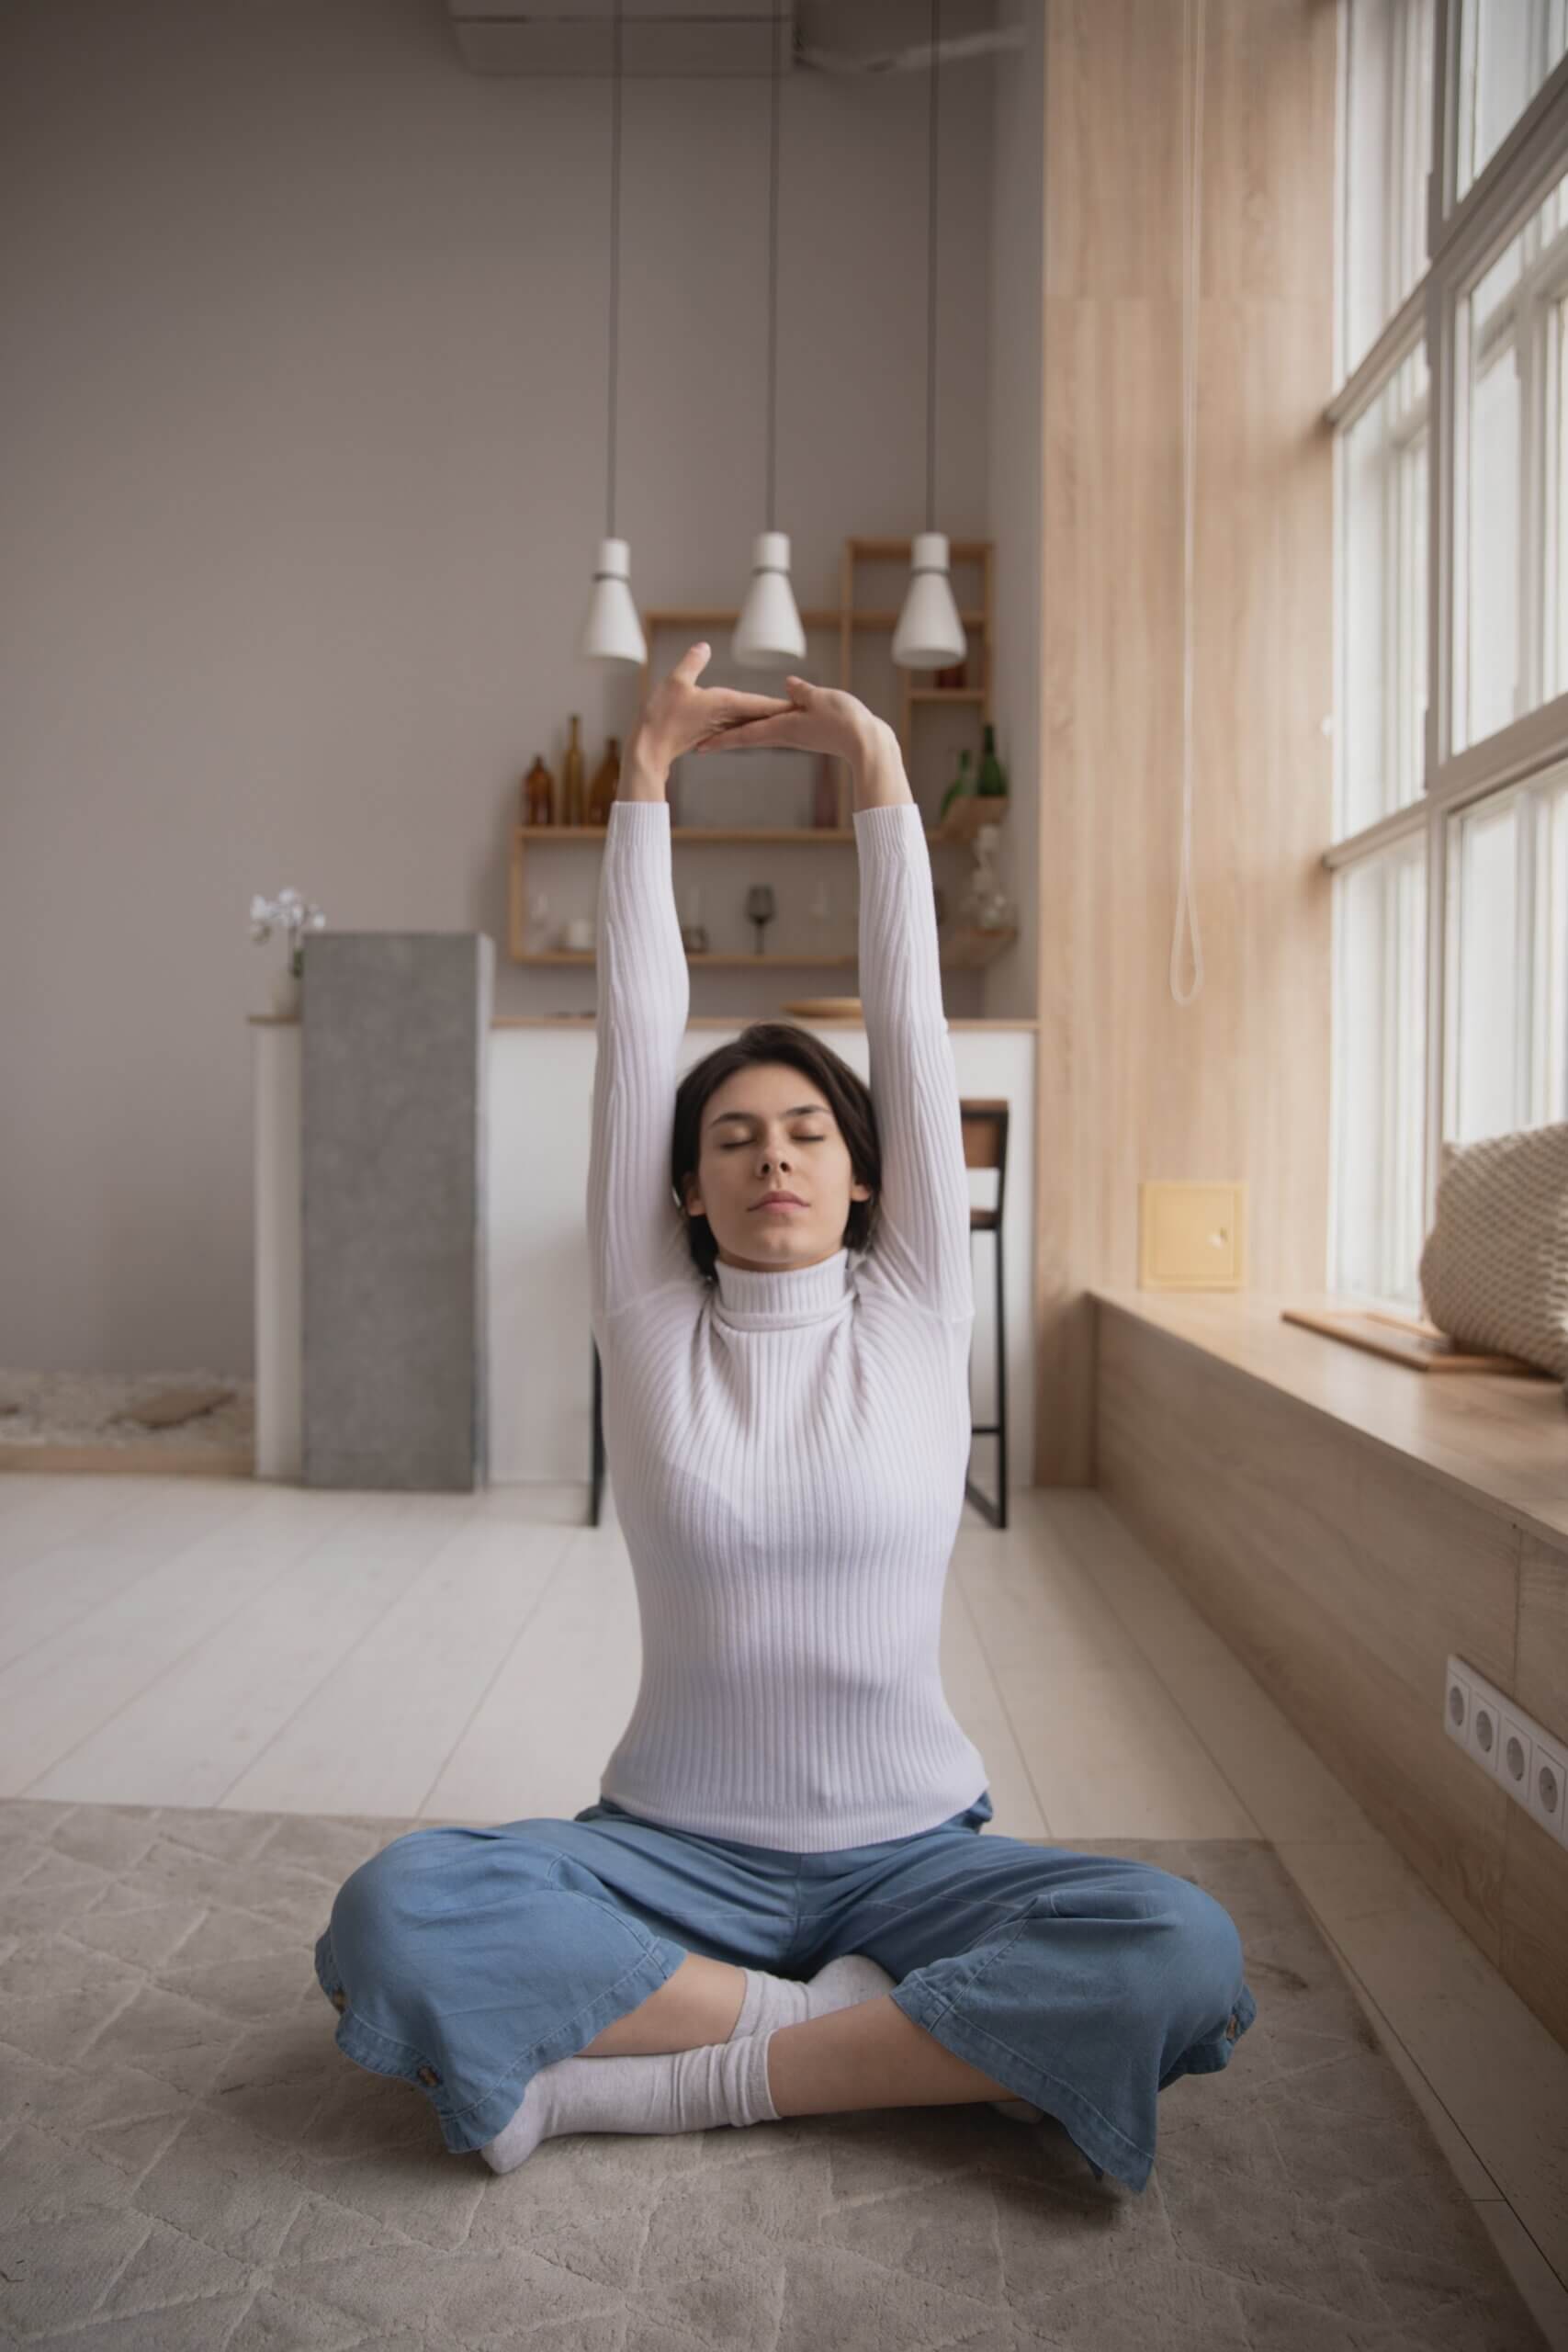
Photo by Andrea Piacquadio from Pexels
.
If you’re not comfortable because your body is straining to hold the pose when you are taking a selfie, it’s going to show in your face. Learn to use the volume controls and relax. You’ll look much happier. Here’s another way to take a picture without touching the circle to release the shutter.
Use Your Headphones To Take A Photo
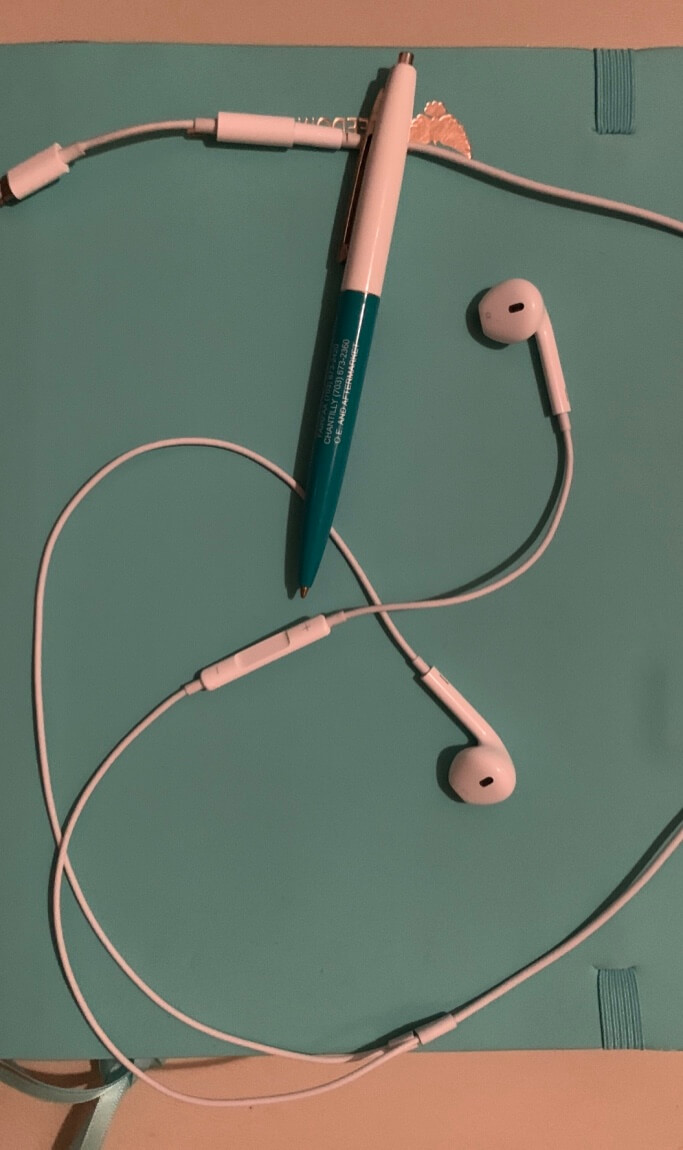
Imagine you are out walking your dog with your headphones on as you listen to a podcast. Suddenly, you see a beautiful sunset. Did you know you can take a picture with your headphone volume controls too? When your camera app is open and you have the photo of the sunset framed in the view finder, simply press the up (+) or down (-) volume control on your headphones to release the shutter. Bonus: your podcast can keep playing in the background while you take all the pictures you want.
Compose Your Photo First Using the Rule of Thirds
It’s a natural instinct to take a photo with the object directly in the center. But then your photo looks like everyone else’s. If you want to take your photos up a level, first stop and compose the scene using the rule of thirds, and then take the picture.

What is the rule of thirds? It’s a concept in the visual arts in which the eye of the viewer will automatically be drawn to certain points. If you visually divide a scene using two horizontal and two vertical lines, the result would be a grid with nine sections. The viewer’s eye will be drawn to the intersection points. To make your photo more captivating, place the most important object at one of the intersection points.
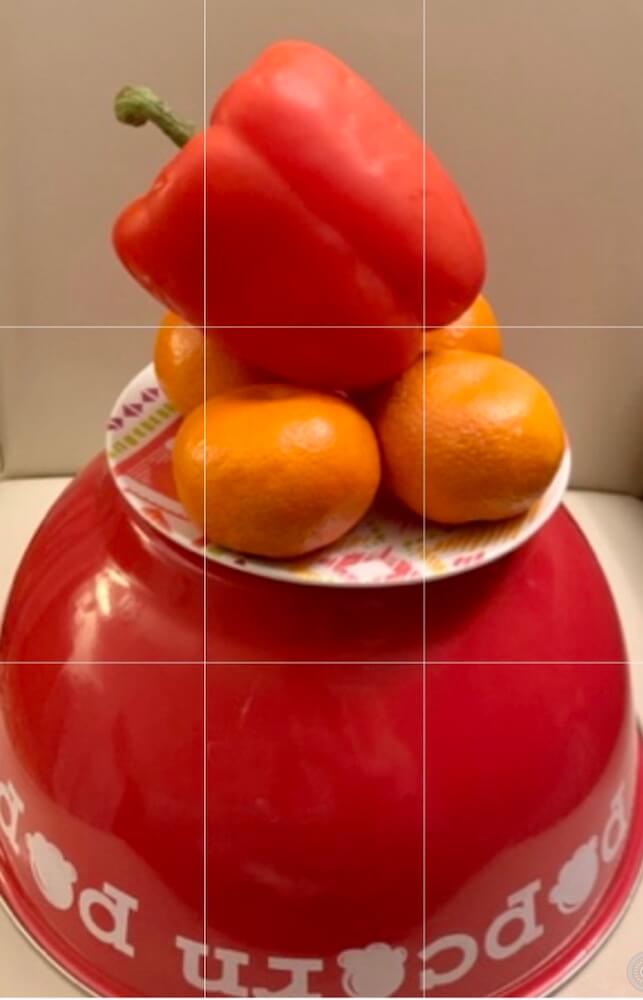
If you tap on your the screen of your iPhone in camera mode, you will see that grid with faint white lines. This will automatically give you a reference point for composing your photo. You can pick any one of the points of intersection in the grid. Place your focal point (a face, a flower, an animal) there, and click the circle to release the shutter.
In the photo below, notice how your eye sees the photo differently when the pepper is moved slightly to the right. Try each of the four focal points to see which one appeals to you most. If you’ve already taken the photo, you can crop it differently when you edit it later. (More on that in another post).

Now that you know the rule of thirds, pay attention to professional photos used in advertising. You will also see this concept used in films – especially when the camera focuses on a new scene.
Use Burst Mode to Take Group Pictures
When taking a group photo (family, friends, kids and dogs, it is almost impossible to get everyone looking happily at the camera at the same moment. And if you tell everyone you need to take it again, they may answer with groans of protest.
To maximize your opportunity to get that one perfect moment with everyone looking at the camera, you can use burst mode to take a series of photos quickly. Simply keep your finger pressed on the circle to release the shutter in a continuous, rapid sequence. This technique is often used for capturing athletes moving quickly in sports.
Here are three photos from a group shot of friends taken this summer. A nice bystander took about 8 photos of us as we tried to keep from laughing.

Here are two of the oops photos. In the photo above, two of my friends are looking away from the camera, and I am laughing way too hard.
In the bottom photo, one of my friends is talking, and I have my hand in front of my face as I try to move my bangs.

And finally, we got it together for a nice group photo. I could hear the shutter whirring away so I knew our helpful photographer was using the burst mode.

And now you know Five Tips for Taking Better iPhone Photographs. From quickly opening your camera app, taking the photo using the phone or headphone volume controls, the rule of thirds, and finally, using burst mode for group photos. Happy picture taking!
What’s your favorite photography tip? Please share it in the comments below.
Other posts you might like:
Virtual Trip to Paris France


